This is the second part in the series of a blog post. In the first part we had a look at the process of deploying & securing a Web API using Azure Active Directory authentication. In the second part, we will have a look at the process of consuming the API using a Power Apps custom connector.
Part 1 : Build, Deploy & Secure a Web API using Azure Active Directory Authentication
Part 2 : Connect API to Power Apps using custom connector
Part 2 : Connect API to Power Apps using custom connector
For Power Apps to access the secure API, we will need to register a client application in Azure AD. Login to the Azure Portal and navigate to Azure Active Directory. In the left navigation select “App Registrations” and select “New Registration”.

Enter a name for your app and select the kind of accounts you want to give access to the API. The types of accounts supported are self-explanatory and are explained well. In this case, we select “Single Tenant” as we want only users in this tenant to access this app.

In the following screen. Leave the “Redirect Uri” as blank for now and click on “Register”. From the “Overview” section make a note of the “Client ID” & “Tenant ID”. Keep this handy, we will need these details when we configure the custom connector.
Click on “API Permissions” from the left navigation and click on “Add a permission”. From the side pane that opens, search for your app & select the app.

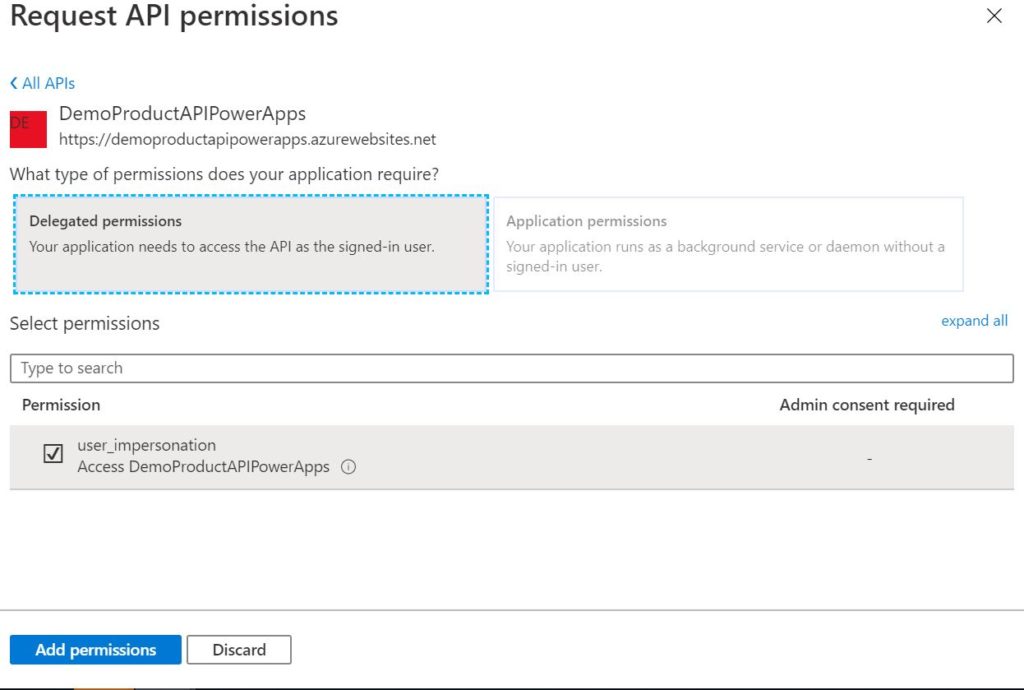
In the “Request API permissions”, Choose “Delegated Permissions” and select “user_impersonation”. This will allow the client to access our API on behalf of the signed in user. Also, the user will be shown the consent form before accessing the API. Click on “Add permissions”.
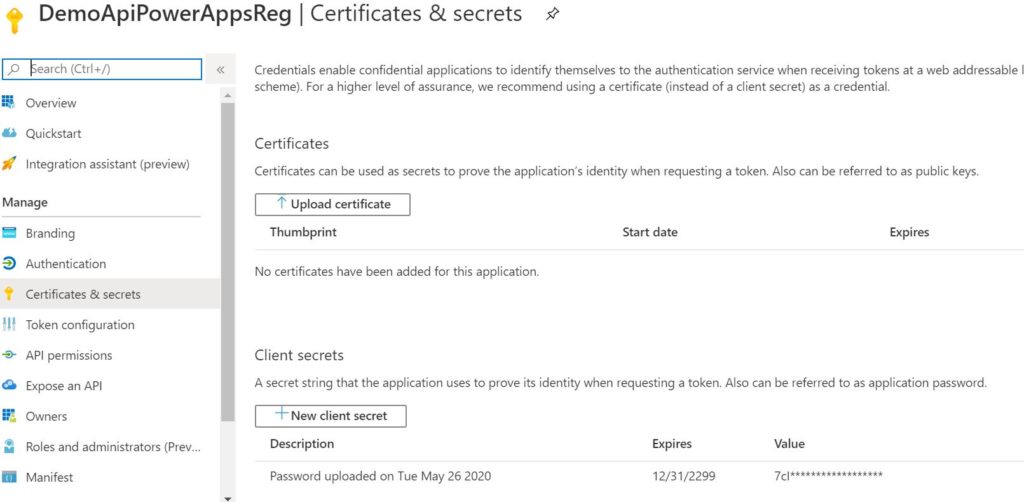
Generate a “Client secret” for the app and make a note of it. From the left navigation select “Certificates & secrets”. Under “Client Secret”, click on “New client secret”. Choose when you want the secret to expire from the available choice and click on “Add”. The secret will be displayed only once. Copy the secret and keep it handy for later use.
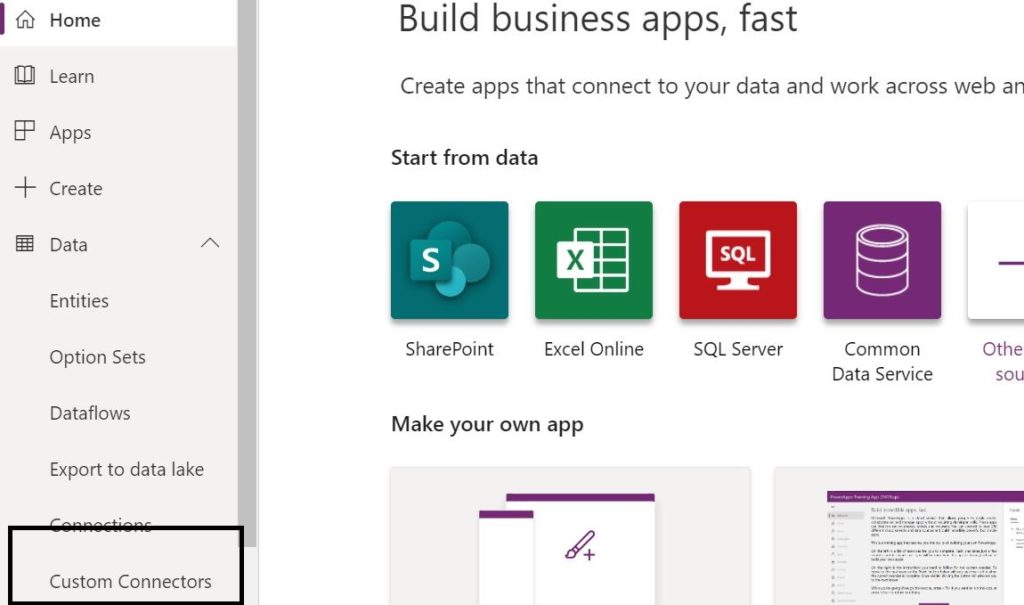
Let’s create our custom connector now. Go to Power Apps. In the left navigation, under “Data”, select “Custom Connectors”.
Click on “New Custom Connector” and choose “Create from blank”. Choose a name for the connector and click on “Continue”. Fill the details under the “General” tab. For the “Host” field, input the URL of the API without the scheme.

Input the following details under the “Security Tab” :
Authentication Type : OAuth 2.0
Identity Provider : Azure Active Directory
Client Id : The client Id from the app registration that we just completed above.
Client Secret : The client secret from the app registration that we just completed above.
Resource URL : URL of the API
Scope : user_impersonation
Click on “Create Connector” and Copy the “Redirect URL” that was auto-generated.
Navigate to the the app we registered above for the client in the Azure Portal. From the “Overview” section. Click on “Add a redirect URI”.

Under “Platform Configurations”, click on “Add a platform” and input the redirect URI that we had just copied.
Go back to the custom connector, under the “Definition” tab. Choose “Actions” and add a “New Action”. Input the details under “General” section as shown below. Note : The “Operation ID” will be the function that will be used in the Power Apps app.

Under the “Request” section, click on “Import from sample”. Select “Get” for the Verb & the URL will point to the “Products” endpoint. Click on “Import”

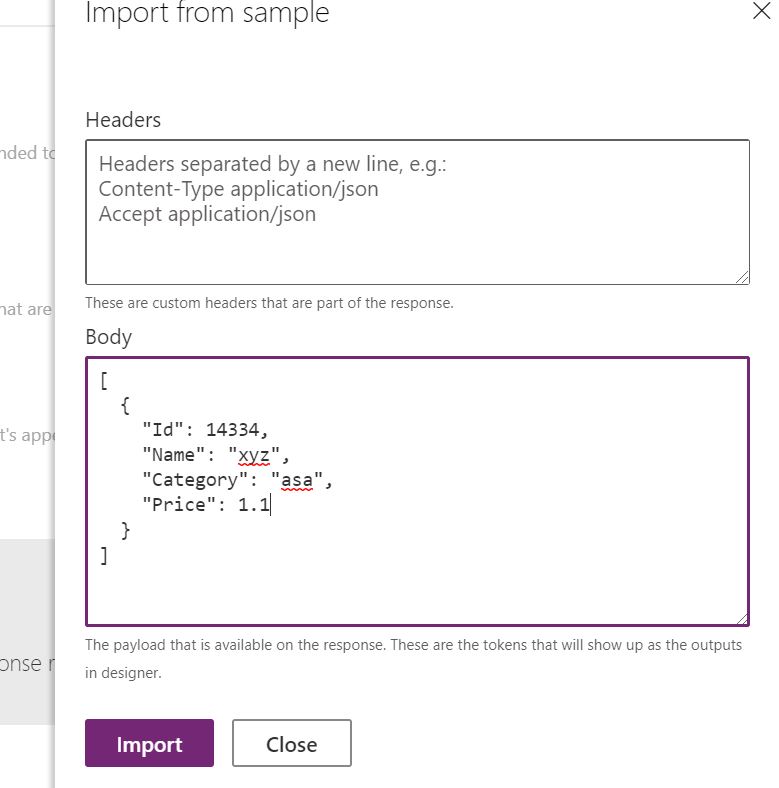
Under the “Response” section, click on “Add default response” . For the “Body” field, specify the payload that you expect from the API for this request. Click on “Import”. Click on “Update Connector”.
Select the “Test” tab. Under “Connections”. Select “New Connection” & click on “Create”. You will asked to login & a consent screen will be shown. Click on “Accept”.

Go back to the connector and switch to the “Test” tab. Under “Operations” for “GetAllProducts” click on “Test Operation”. Observer the response & status code.

Lets add another operation to get the product by Id. Repeat the steps outlined above for the “Definition” tab. The only change will be the Sample “Request” & “Response”. For request, the URL will be as shown below

Add a default response & save the connector. Go to the “Test” tab & test the operation.

The custom connector is now ready and be consumed by a Power Apps application.
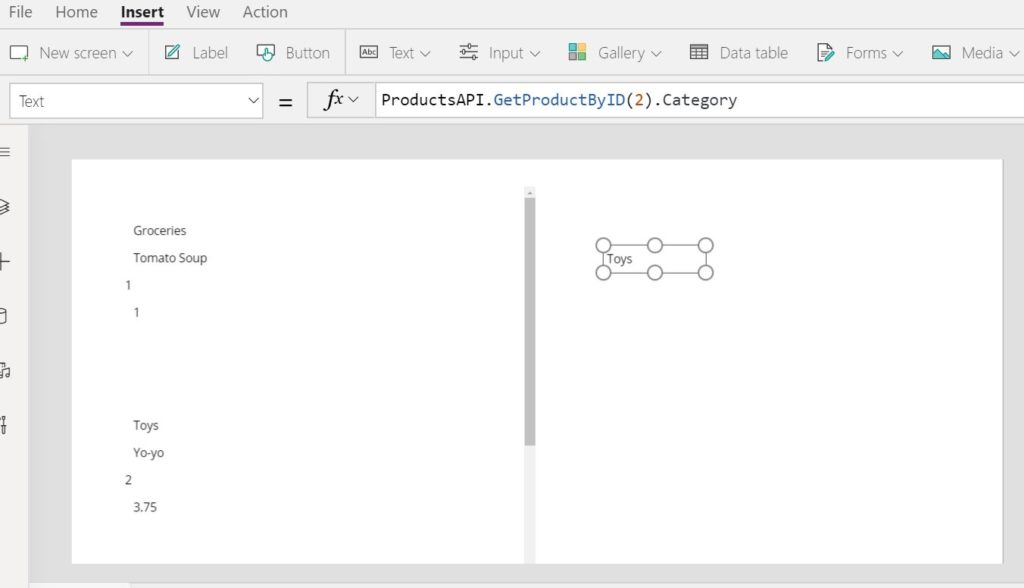
To test this, create a blank canvas app & add a gallery control to the screen. For “Data Source” select the “Products API” and your connection.

For the items property select “ProductsAPI.GetAllProducts()”. Add labels & display and select the fields to display. I have also added a label outside the gallery to display the “Category” of product with ID “2”.
This custom connector can now be used in Azure Logic Apps & Power Automate as well.

Pingback: Build a Power Virtual Agent bot and integrate Power Automate flow