Welcome to the first part of the three-part series of my blog where I detail the steps to build a Power Virtual Agent bot that you can publish to your custom website. We will also see how to dynamically fetch data from the website using Power Automate and display them as a part of the bot’s response.
In this first part, we will build a simple Power Virtual Agent bot.
- Part 1 : Build a simple Power Virtual Agent bot
- Part 2 : Integrate Power Automate with the bot
- Part 3 : Publish the bot to a custom website
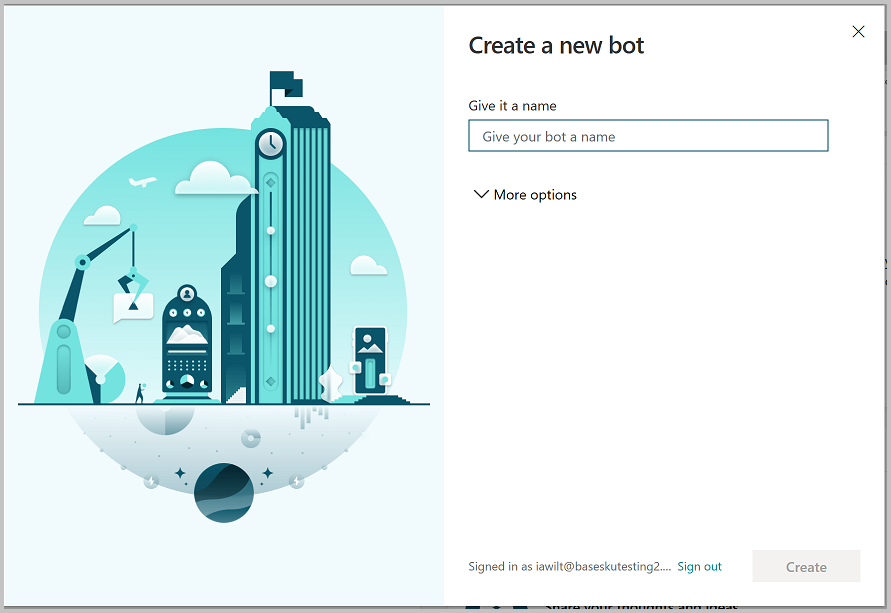
Go to https://aka.ms/TryPVA in your browser to begin. Select Try preview, and then sign in with your work email address. Choose a name for the bot and select Create.
I have published a bot to this site (named it after my son’s nick – Battu) . It’s a work in progress. You should see the bot icon at the bottom right-hand corner of this page. Yeah, the bot avatar you see, is my son’s pic as well. 🙂
You should now be able to create and edit Topics. Topics allow you to start a new branch of conversation with the user. To know more about Topics, go through the Microsoft docs link here.
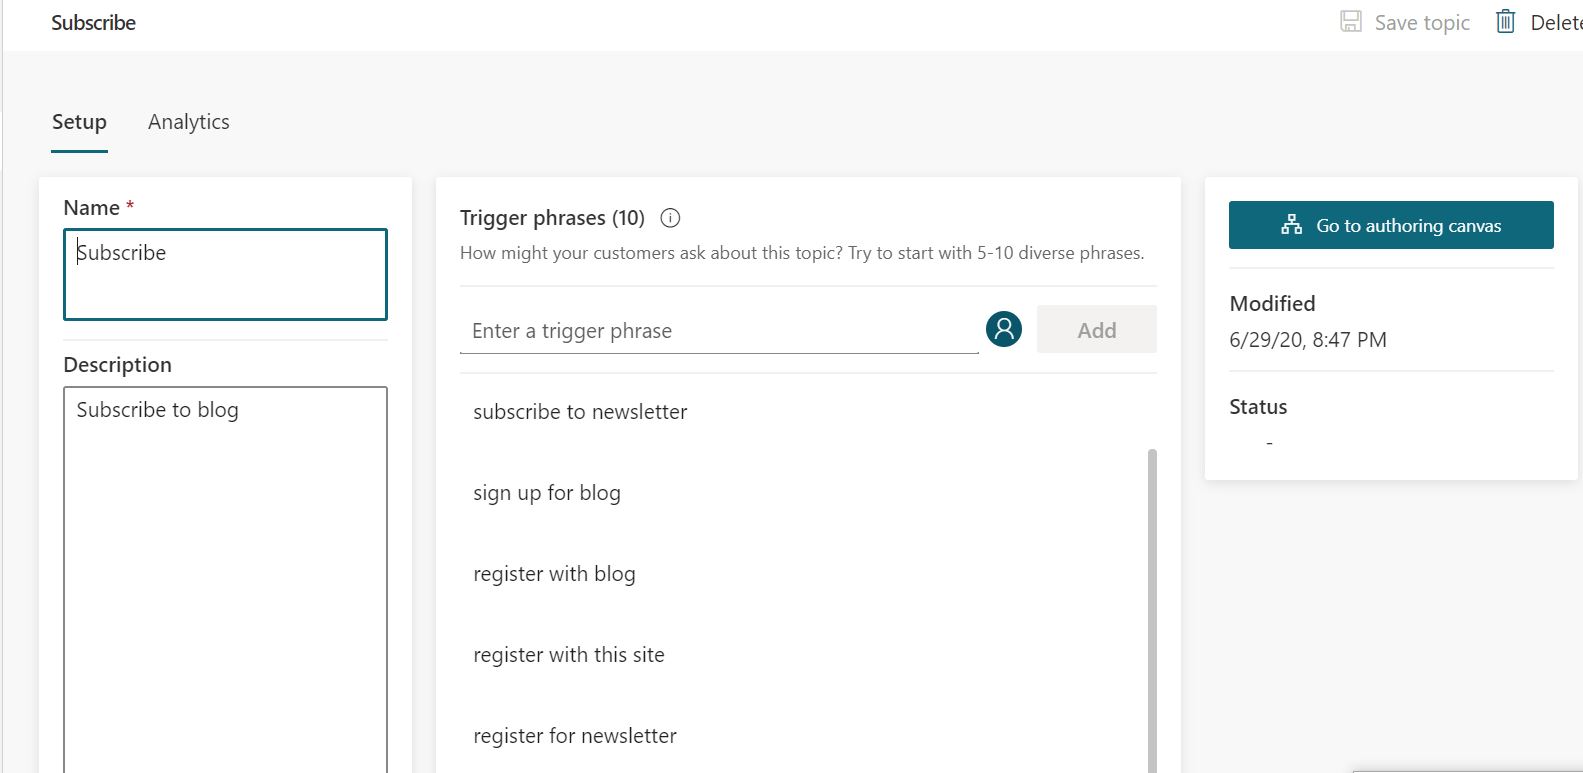
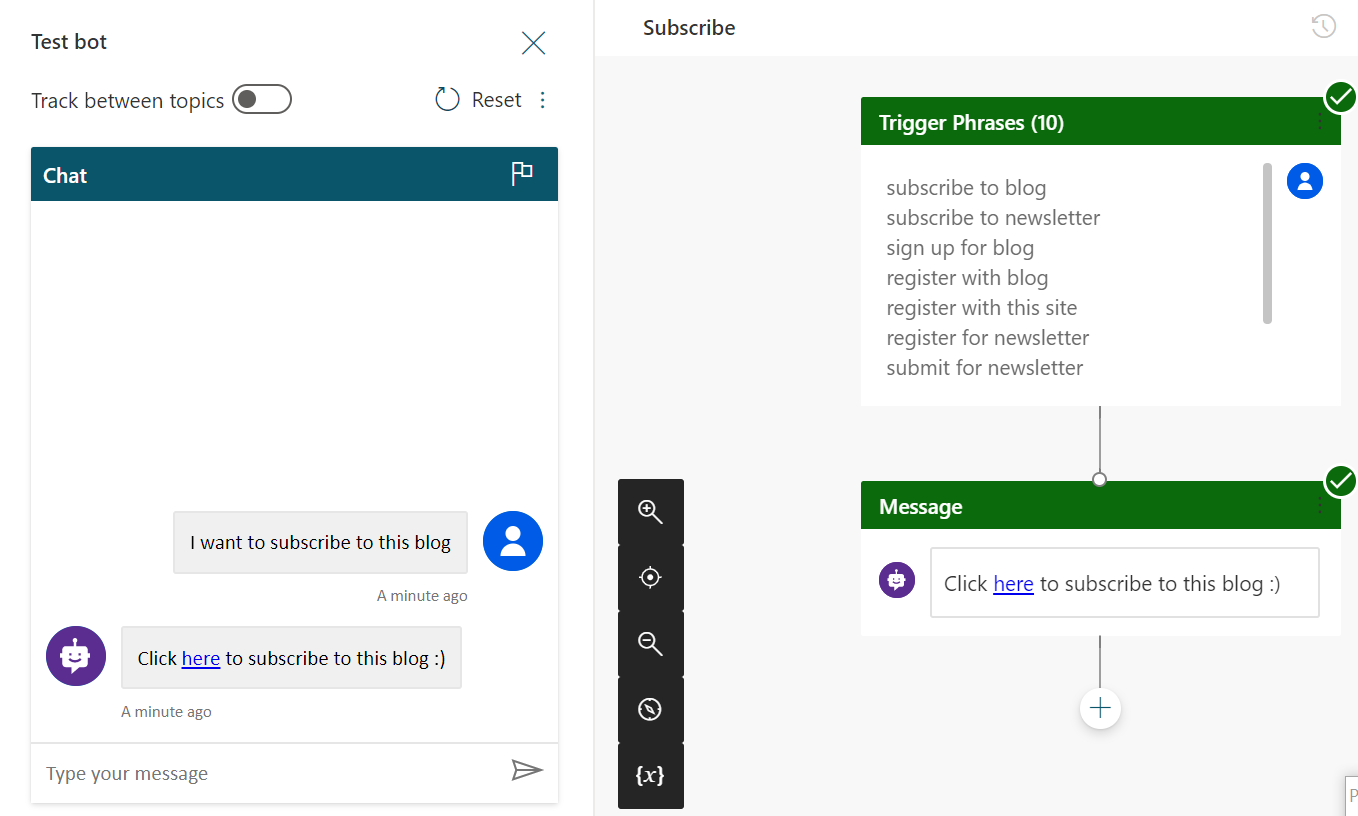
As a sample, we will create a topic that will send a link to the subscription page of the blog to the user. You can add new trigger phrase(s) as given below.
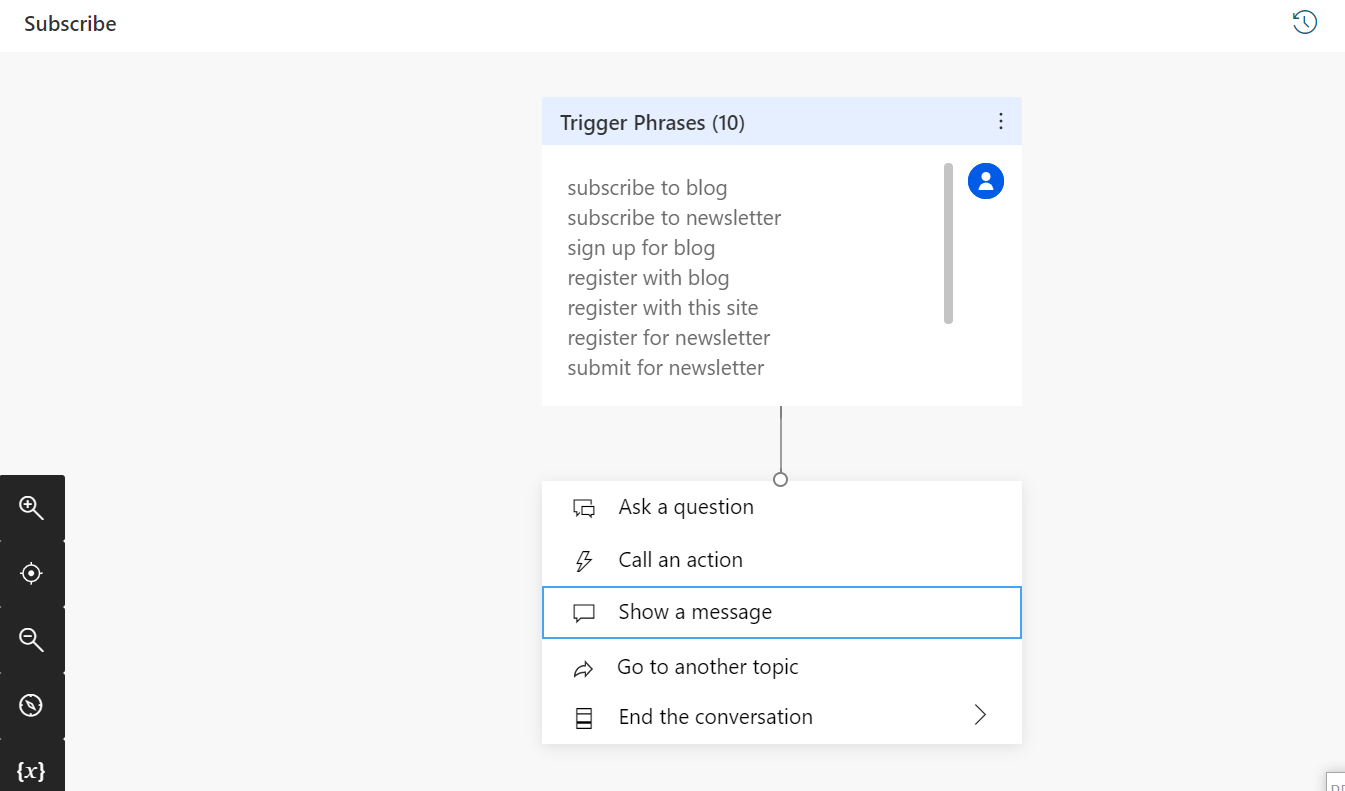
After you are done with adding trigger phases click on ‘Go to authoring canvas.’ Click on the ‘+’ sign to add a new node and click on “Show a message”.
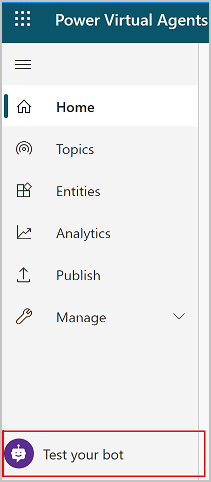
You can now “Save” your bot and test it. From the left navigation, select Test Your Bot at the bottom.
Type any phrase that is related to your trigger phase. You should see the bot respond with your choice of response present in the authoring canvas.
The chat stopped because the dialog flow has ended. You can now play around with the topic or create new topics, test them till you are happy with the flow.
In this part, we have built a bot using power virtual agent.
In the next part of the blog we will create a more complex topic incorporating variables, entities, and Power Automate flows.
